

Illuminate Your Stream: Top Lighting for Webcam Models
Let's be honest
Most streamers won't admit it. But a budget webcam paired with solid lighting beats a 4K DSLR trapped in a dark room. Every single time, actually.
That's the bit nobody wants to say out loud. You're hunting for better equipment when the real problem's staring you in the face, or rather, failing to illuminate you because the lighting's genuinely terrible.
Poor lighting doesn't just scream amateur hour. It flattens your features, carves strange shadows across your features, and tells viewers within instantly that this stream isn't worth their time. First impressions on camera happen fast. They're nearly always a lighting issue nobody's bothered solving.
Of every visual upgrade you could make? Sorting your lighting delivers the most immediate, visible return. Not even close. Here's what you need to focus on:
Three-point lighting
Three-point lighting sounds technical. It's not. You need two LED panels, one key light and one fill, plus something focused like a ring light or compact spotlight.
Done.
Positioning matters, though. Each light handles a specific task. Together, they eliminate unflattering shadows, render your skin tones accurately on camera, and create depth that a single overhead bulb could never dream of achieving. If you're still figuring out your space, our guide to essential room décor for cam models explains how your background can work with your lighting rather than battling it constantly.
How each light does its job
Your key light is the workhorse. Primary source. Sets the overall mood.
The fill light goes opposite, softening the shadows your key creates so your face looks balanced instead of harshly lit from one side like some poorly filmed interrogation scene.
Then there's the backlight. Sits behind you, aimed at the wall. Separates you from the background, makes you look three-dimensional rather than a flat cutout pasted onto a backdrop. Subtle? Absolutely. Noticeable when it's done right? Yes, even when viewers can't articulate precisely why your stream looks better than someone else's.
Quality of light matters every bit as much as placement. B&H Photo's production guides will tell you straight: soft diffused light produces far more flattering results than a bare bulb at identical brightness. Throw a diffuser or softbox on your LED panels and you'll get smoother illumination that reduces harsh shadows and makes skin tones look natural on camera.
Get this sorted and the change is instant. A well-lit image with consistent, natural color reads as professional, your stream look, and intentional. Viewers stick around longer on streams that look deliberate, and that's no accident whatsoever.
Setting this up properly
Step one: Kill all overhead lighting. Ceiling lights cast downward shadows that hollow out your eyes and flatten your features into something nobody wants to watch. Start fresh, blank slate.
Step two: Position your key light at a 45-degree angle to one side of your face, slightly above eye level. This is your main source, the brightest element in the frame.
Step three: Fill light goes opposite side, roughly 45 degrees out. Its job is softening the key's shadows. Keep it a touch dimmer, you're after balance, not perfect mirror symmetry.
Step four: Background light behind you. An RGB LED strip or small puck light aimed at the wall does the job nicely. This final layer adds depth and makes everything feel considered instead of accidental.
Once your lights are positioned, you'll want to adjust your camera settings to match. Our guide to best webcam settings for low light covers white balance, exposure, and gain tweaks that work alongside proper lighting rather than fighting it.
When someone notices
When a viewer comments on how polished the stream looks, have something ready. Try, "I've been working on my setup, wanted everything to feel more intentional. What do you reckon?"
Natural. Opens dialogue without sounding like you're showing off gear.
You're demonstrating that you've invested effort into the experience. Viewers recognise that. It signals professionalism, and a casual compliment can convert into genuine lasting engagement when they see you're taking this seriously.
Working with limited funds
Good lighting for webcam streaming doesn't demand a big investment. Here's how to approach each level without breaking the bank:
- Beginner, under £50: Two dimmable LED desk lamps positioned at eye level on either side. The TaoTronics LED Desk Lamp is widely available, adjustable, affordable, and genuinely superior to a single ceiling light. Even at this price point, the improvement is significant enough that viewers will notice immediately.
- Mid-tier, £50 to £150: Dedicated LED panel lights with adjustable brightness and colour temperature, typically 3200K to 5600K. The Elgato Key Light Air and Neewer LED panels are popular for solid reasons, they work. Add diffusers or softboxes, they change how skin tones render on camera. Adjustable colour temperature helps you dial in the look regardless of time of day or room conditions shifting underneath you.
- Advanced, £150+: Professional-grade 5600K colour-calibrated LED panels on cold shoe mounts. At 5600K, you're matching natural daylight, accurate and consistent skin tones without constant recalibration mid-stream. If streaming is your main income, this level starts making practical sense. For a curated list of panels across price points, see our full guide to webcam streaming equipment.
Errors that wreck your image
Lights positioned too low? That creates deep shadows under your chin and eyes. Unflattering doesn't begin to cover it, viewers won't stick around when you look like a horror film extra. Keep your main lights at or slightly above eye level, always.
Mixing warm incandescent bulbs with cool LEDs produces colour inconsistency that's nearly impossible to fix after the fact. Pick one colour temperature and use it across every light source.
Period.
And look, maxing out brightness isn't the goal here. Too much intensity washes you out and produces a flat, overexposed mess that looks worse than no lighting at all. You want even, accurate illumination, not the brightest result humanly possible.
Even with proper lights, if your camera's struggling, small adjustments to exposure and gain can solve problems that extra brightness never will.
Common mistakes, like lights positioned too low or mismatched colour temperatures, are straightforward to fix once you know what to watch for. If your camera still isn't performing after you've sorted the lights, check our guide to best webcam settings for low light, tiny tweaks there can make the difference between passable and professional.
Starting today
Pull up a recent stream recording. Watch it with fresh eyes, the way a new viewer would. Look for shadows you hadn't noticed before, moments where your face looks uneven or oddly lit, colour shifts that make you appear different from scene to scene. That review tells you exactly where to focus first.
Then order two matching LED panel lights with adjustable brightness and colour temperature. Matching matters, mismatched lights are a common source of colour problems and it's dead easy to avoid if you just buy the same model twice.
Before your next session, test your webcam's white balance under the new setup. Auto white balance can shift mid-stream unpredictably, locking it manually ensures the colours viewers see are the ones you intended them to see.
FAQ
What's the single most important factor for webcam streaming quality?
Lighting. A budget webcam with proper lighting will outperform an expensive camera in a dimly lit room. It's the single most impactful change you can make to your setup, bar none.
What is three-point lighting, and why does it matter for streamers?
Three-point lighting uses a key light, a fill light, and a background light. It's the foundation of a solid webcam setup because it reduces unflattering shadows, renders skin tones accurately, and adds depth to your image that single-source lighting can't achieve.
How should I position my key and fill lights properly?
Position your key light at a 45-degree angle to one side of your face, slightly above eye level. Place your fill light on the opposite side at a similar angle to soften the shadows the key creates. Keep the fill slightly dimmer for balance.
What lighting mistakes should I avoid?
Don't position lights too low, it creates harsh, unflattering shadows under your chin and eyes. Avoid mixing warm incandescent bulbs with cool LEDs, as this produces inconsistent colour that's hard to correct. And don't max out brightness, too much intensity can wash out your features and flatten the image completely.
What kind of lights work for different budgets?
Beginners can start with two dimmable LED desk lamps under £50. Mid-tier setups benefit from dedicated LED panel lights, like the Elgato Key Light Air, with adjustable brightness and colour temperature. Advanced streamers may want professional-grade 5600K colour-calibrated LED panels for the most accurate, consistent results.
Wrapping this up
The best lighting for webcam streaming isn't decoration. It's infrastructure. Get it right, and nearly everything else about your visual presentation improves alongside it. Of all the upgrades available to a streamer, fixing your lighting delivers the fastest and most visible improvement you'll see. For specific panel recommendations across every budget, see our full webcam streaming gear guide.
Start here, honestly.
From the Blog
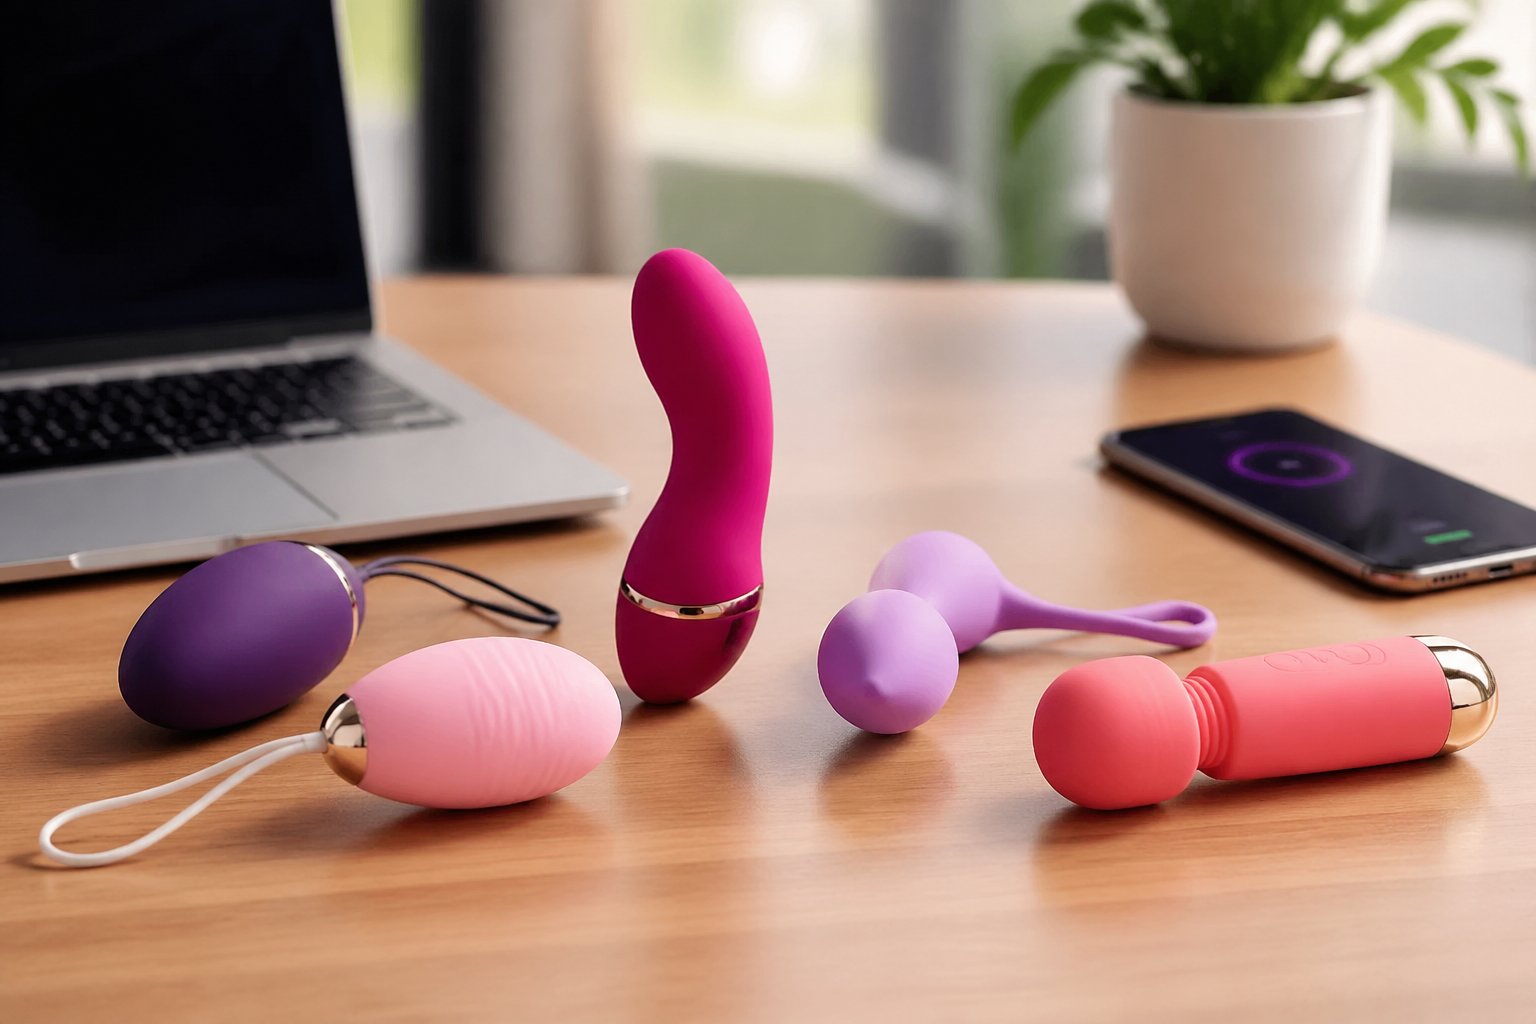
Interactive Cam Toys 2025: How to Set Up Haptic Tips on Chatterbate.
Interactive Cam Toys 2025: How to Set Up Haptic Tips on ChatterbateTable of ContentsUnderstanding Interactive...
Tokens and Tipping: Understanding the Digital Economy of VR Cams
Why You're Not Making Money on Chaturbate — And How to Fix It Fast (10 Common Mistakes)
Beyond the Hype: The Top Live Cam Apps for Serious Performers in 2026
Ready to experience live cams?
Watch Live Cams Free